Skull of Doom
Project Summary
I have always been interested in exploring the intersection of organic materials with LED lights, and inspiration struck me when I visited a friend’s place one evening.
She had a cow steer skull hanging over her fireplace mantel. I thought it was really cool, then I thought - “even cooler if it had lights in it!”
Once I got back home, I went on eBay and found myself a steer skull, and went clicky-clicky on the “BUY” button.

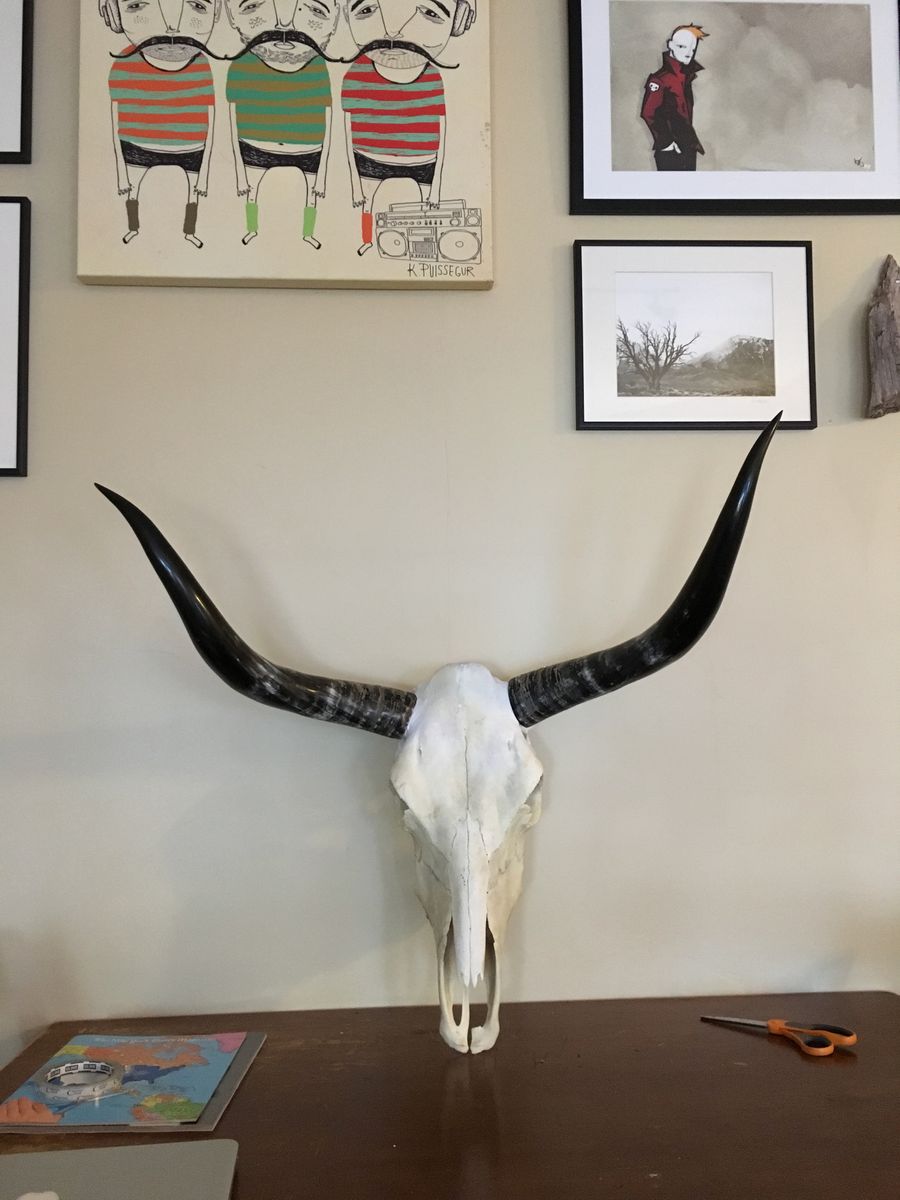
This is how it looked, with the horns attached but before I’d done anything with it.
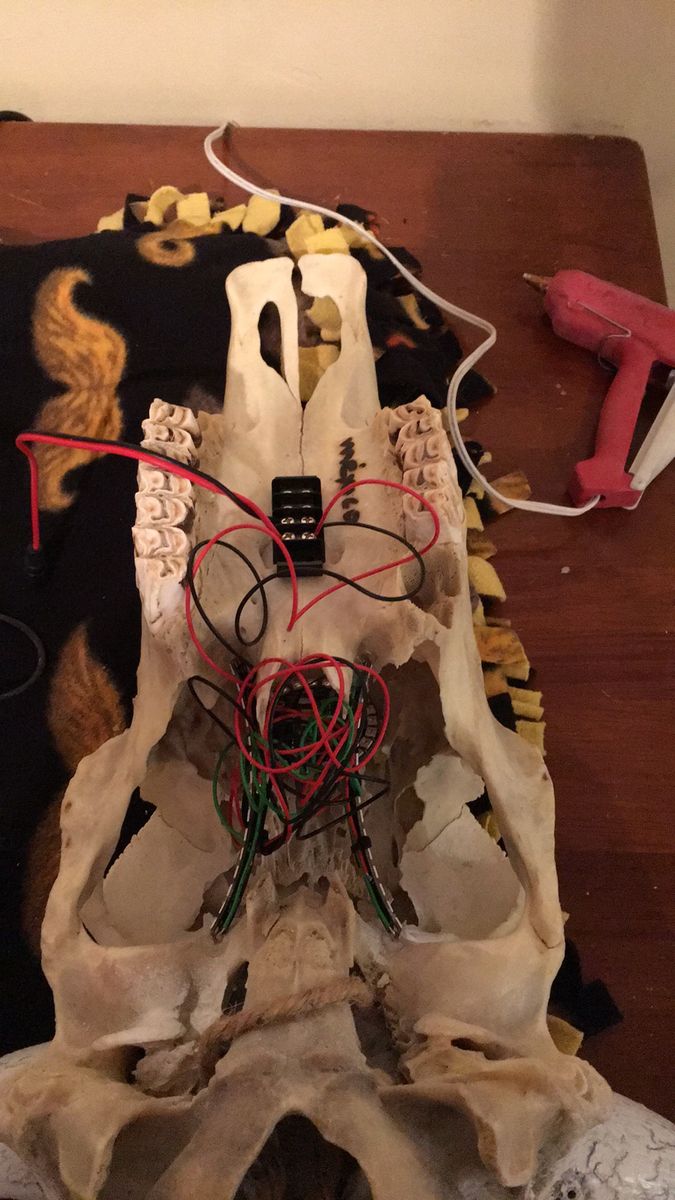
I needed to cut out some space internally to fit all the electronics and LEDs. I might add that attempting to cut bone with a dremel cutting bit results in a HORRIBLE STINKY SMELL OF DEATH.
My partner came home from work a few hours afterwards and first thing he said coming in the house was “Dear god, what the hell is that awful smell! Did you burn something?!”
Ill never forget that smell as long as i live…

Starting out with some basic components I had on hand.
- Particle Photon
- Particle Photon LED Ring
- Two quarter curves LED ring (16 LEDs each)

I know its messy. But I just wanted to get an idea of how the lights would look before I got to tidying up the wiring.
First run with some basic color animation.
I wanted to give the impressions that the skull was on fire from within. I reused some existing FastLED code I found online that created some pretty effective fire animatino effects.
I set up a few different color palettes beyond just the typical red-orange-yellow flame colors. So we have color modes that are blue, green, and pink.
Transition from WS2811B to APA102
The first iteration of the skull light was effective in proving the LED light effect worked, but I always had a second component in mind. The second component was some sort of IR remote hookup that would allow me to turn the skull light on and off, and change the palette colors, intensity of the fire and so on.
This is where I ran into issues with using WS2811B along with the Particle Photon. Since WS2811B LEDs do not have a clock pink the data stream needs to be generated very precisely by the microcontroller hardware.
The IR remote library/hardware required the use of interrupts to capture and parse the IR signal. This use of interrupts was enough to disrupt the data stream for the WS2811B.
After much google-fu, it was determined that I needed to move to LED system that had separate clock and data pins. The APA102 led strips were exactly what was needed. Now that the Particle Photon did not need to do so much timing-dependent gpio, it could properly serve the IR receiver interrupts.
Functional Development Model
After a few times where I hard-crashed the Photon in the skull light and I had to take down the light from the wall and get the firmware reset, I decided to build a development model that would be functionally same as the skull light but easier to develop with.
The LED lights, wiring and parts are identical to whats found in thhe skull light. The only difference is the layout, where it is all foward facing and makes it eaiser for me to see what exactly is happening with the LED lights, since it can be difficult to see what individual LEDs are doing when they are in the skull.
I use the development model to fine tune the code and animation of the LED lights, then I flash the finalized code to the skull light.