Sanctuary of Self
Hardware
-
LED Display
30 individual panels of 64x32 LED matrices. Six across and five high. These panels require 12 digital pins (6 bit data, 6 bit control) and a 5V supply, up to 2A per panel. Display resolution is 192x320 pixels. Average draw is 600-700W but can peak at 1000W.
-
Computing
Intel NUC. Due to the DX11 requirements of the Kinect 2.0 software, we needed a powerful computer to drive the LED wall. We chose an Intel NUC (dual core i7, Isis graphics chipset, USB 3.0) to meet our requirements. On boot, it runs needed services and displays a web application.
-
Interactivity and Input
Kinect 2.0. The Kinect 2.0 offers better skeletal data and resolution than the original. The sweet spot for interaction was experimentally determined to be a skewed frustum extending from 4 feet to 12 feet in front of the display.
-
Cabinet and Exterior Features
Dimensions: Approximately 4’ wide, 8’ high, and 1’ deep.
The LED panels are attached to an aluminum ladder-style frame, and the Kinect is bolted to the top. The cabinet is composed mostly of wood paneling to enclose the aluminum frame. A thin 1/8” sheet of acrylic covers the front display for protection.
-
Wiring, Power, and Miscellany
Power is provided by three 300-watt power supplies that convert the 120V input to 5V. The display is broken down in three sections with one power supply per section. There is room to add a fourth (standby replacement) power supply in case of a failure. The LED controllers are also on the 5V power rail. There is a separate 120V power line for the cooling fans and Kinect 2.0 hookup. The NUC is also connected on a separate 120V power line.
Software
-
C# Kinect API.
A C# wrapper uses the Microsoft Kinect 2.0 SDK to process the webcam, skeletal, IR, IR-extended, and depth data per frame; most of this data is post-processed to fit a low resolution. This data is then sent to the web server by way of Edge.
-
Angularjs 1.0 Web Application.
Our application uses websockets to communicate with the Kinect node.js server. Most of our display modes make extensive use of demoscene-like pixel shaders.
-
Red Button
A very simple Visual Basic Script emits the letter ‘n’ when this button is pressed; the web application listens for this keypress and switches to the next mode.
Process
Prototyping
We prototyped our idea by building a small frame and hooking the panels up to one power supply.
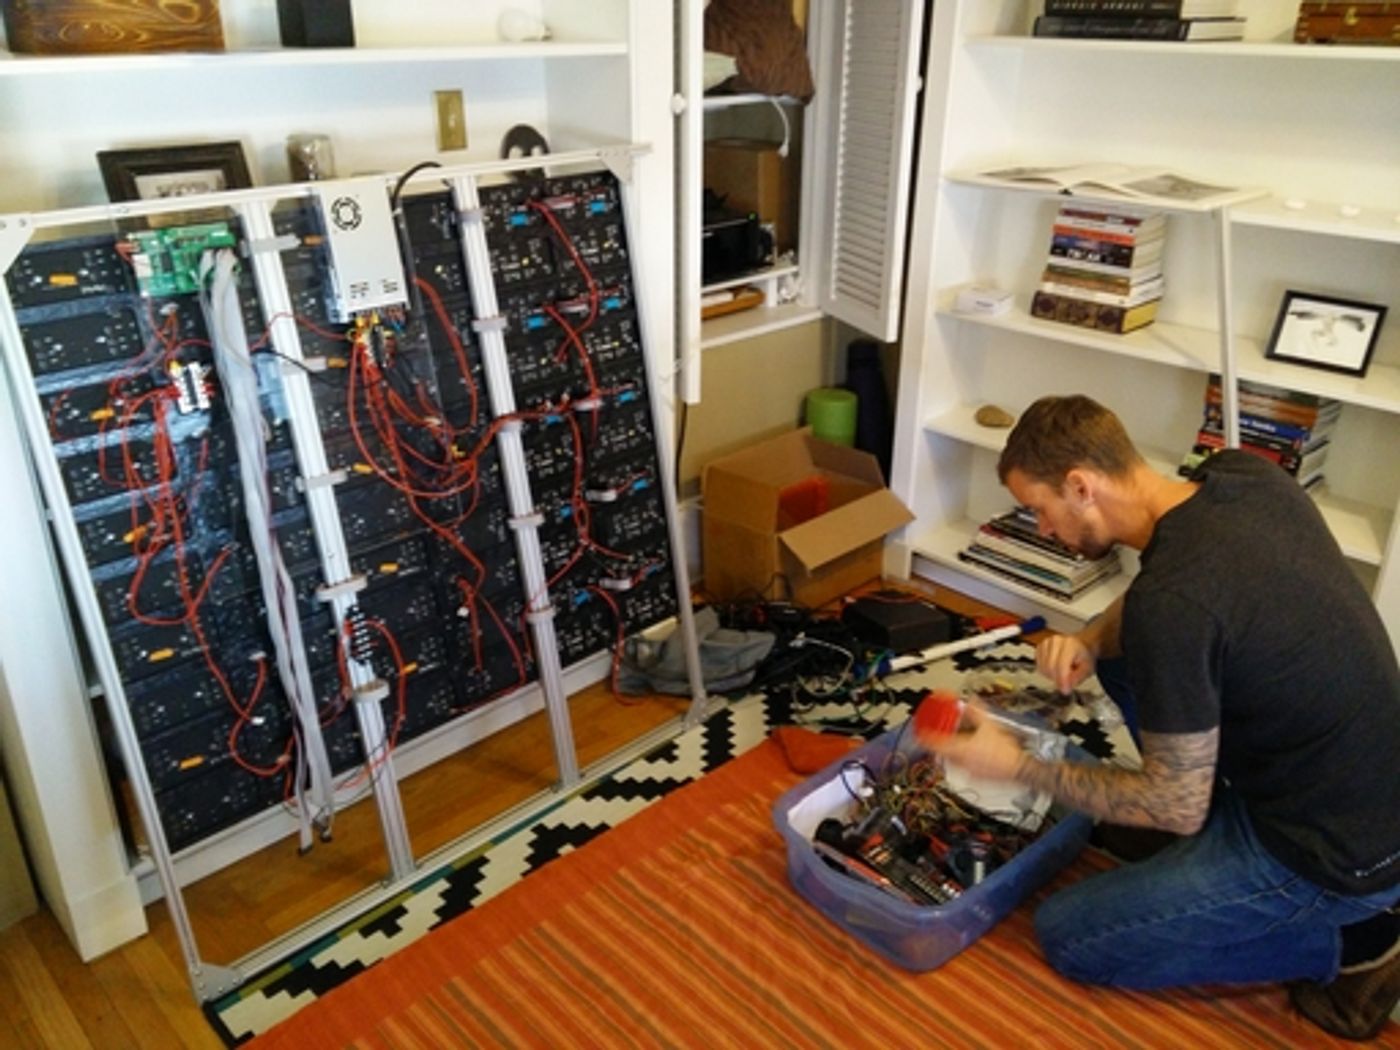
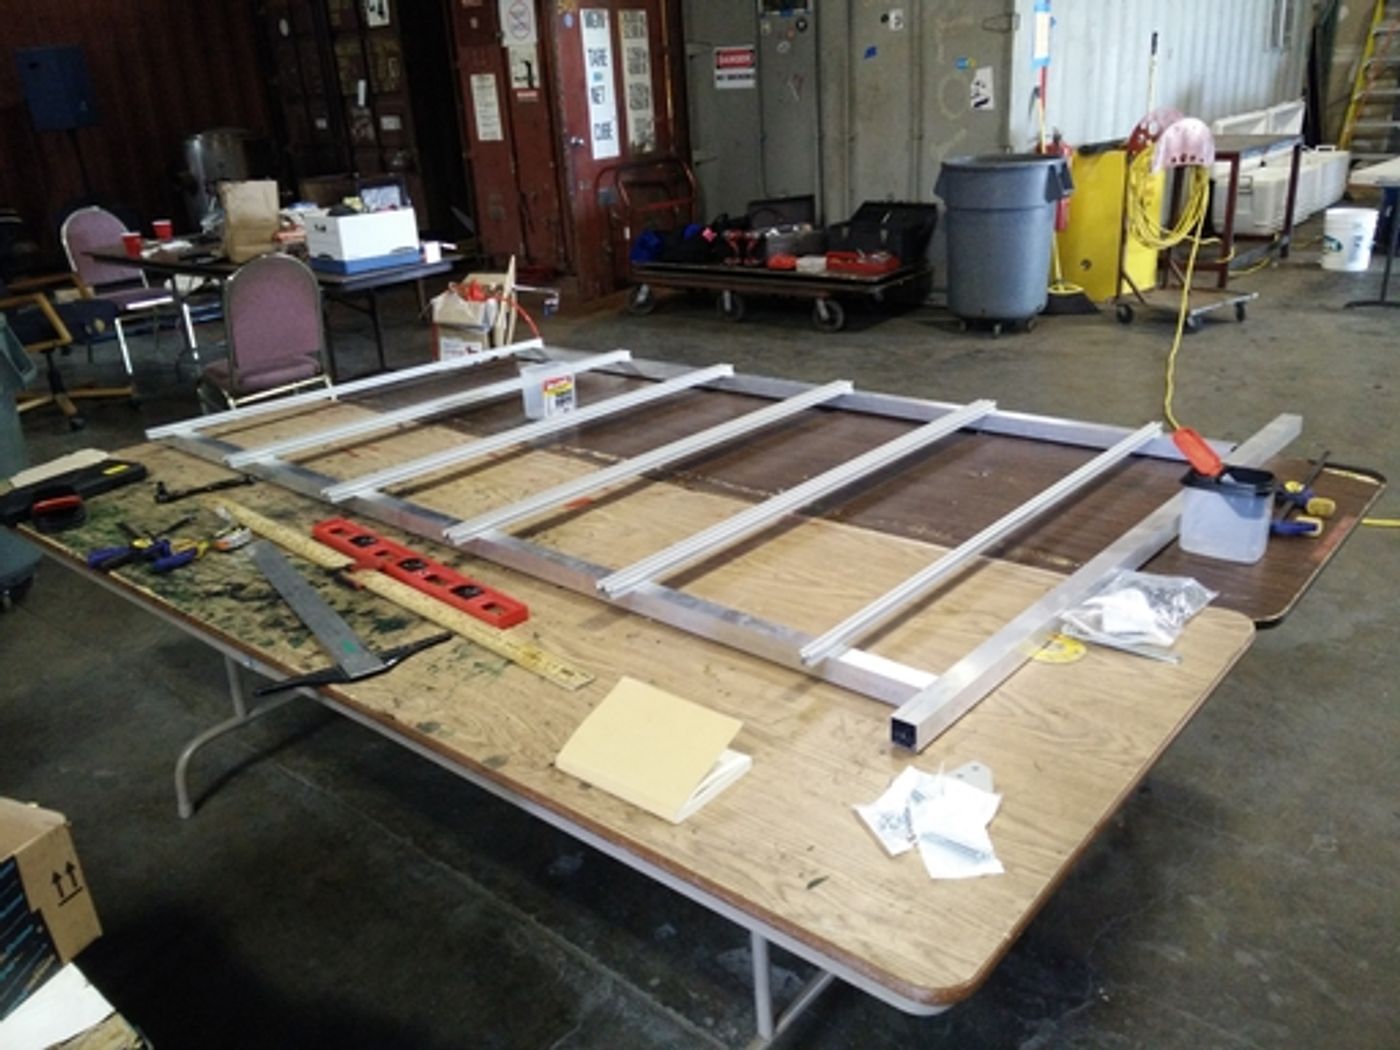
Building the Frame
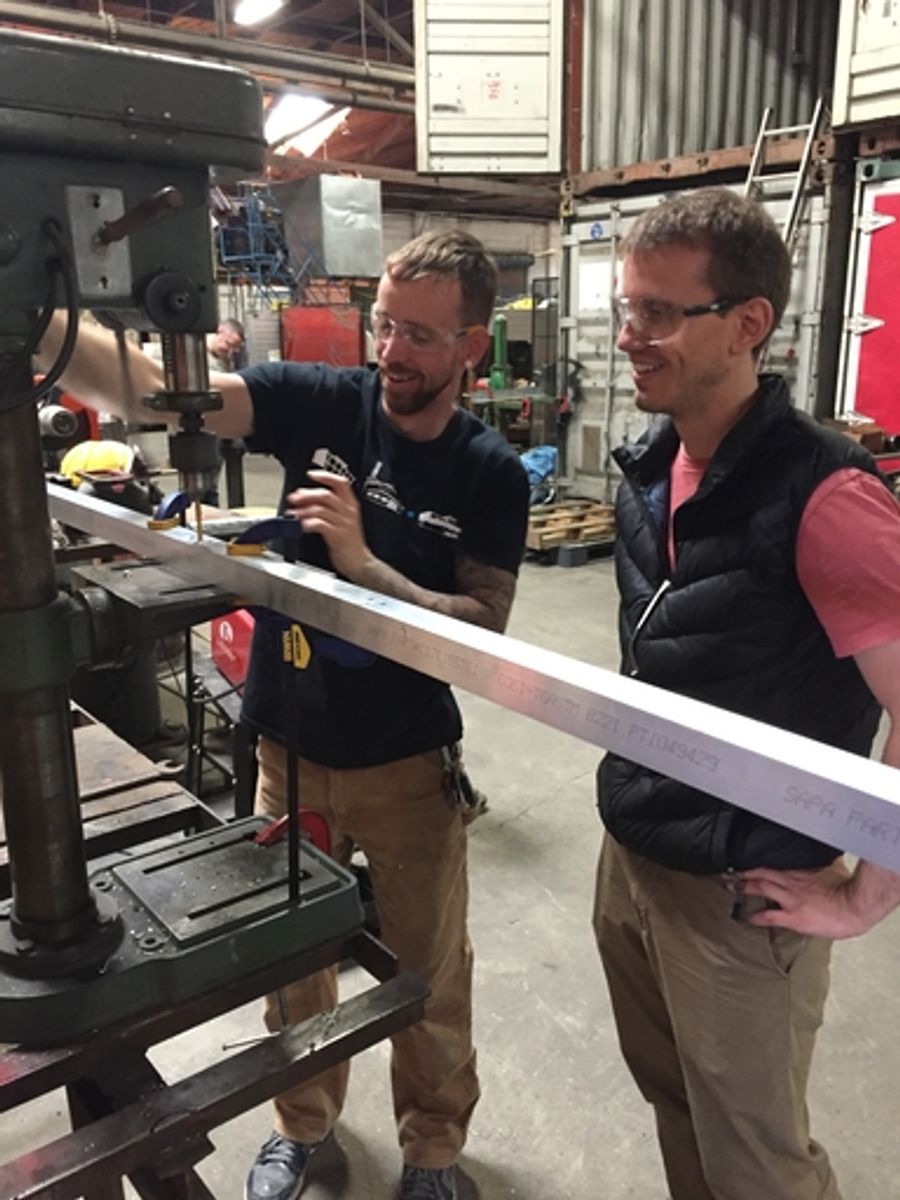
We needed to build the full frame for all 30 panels.
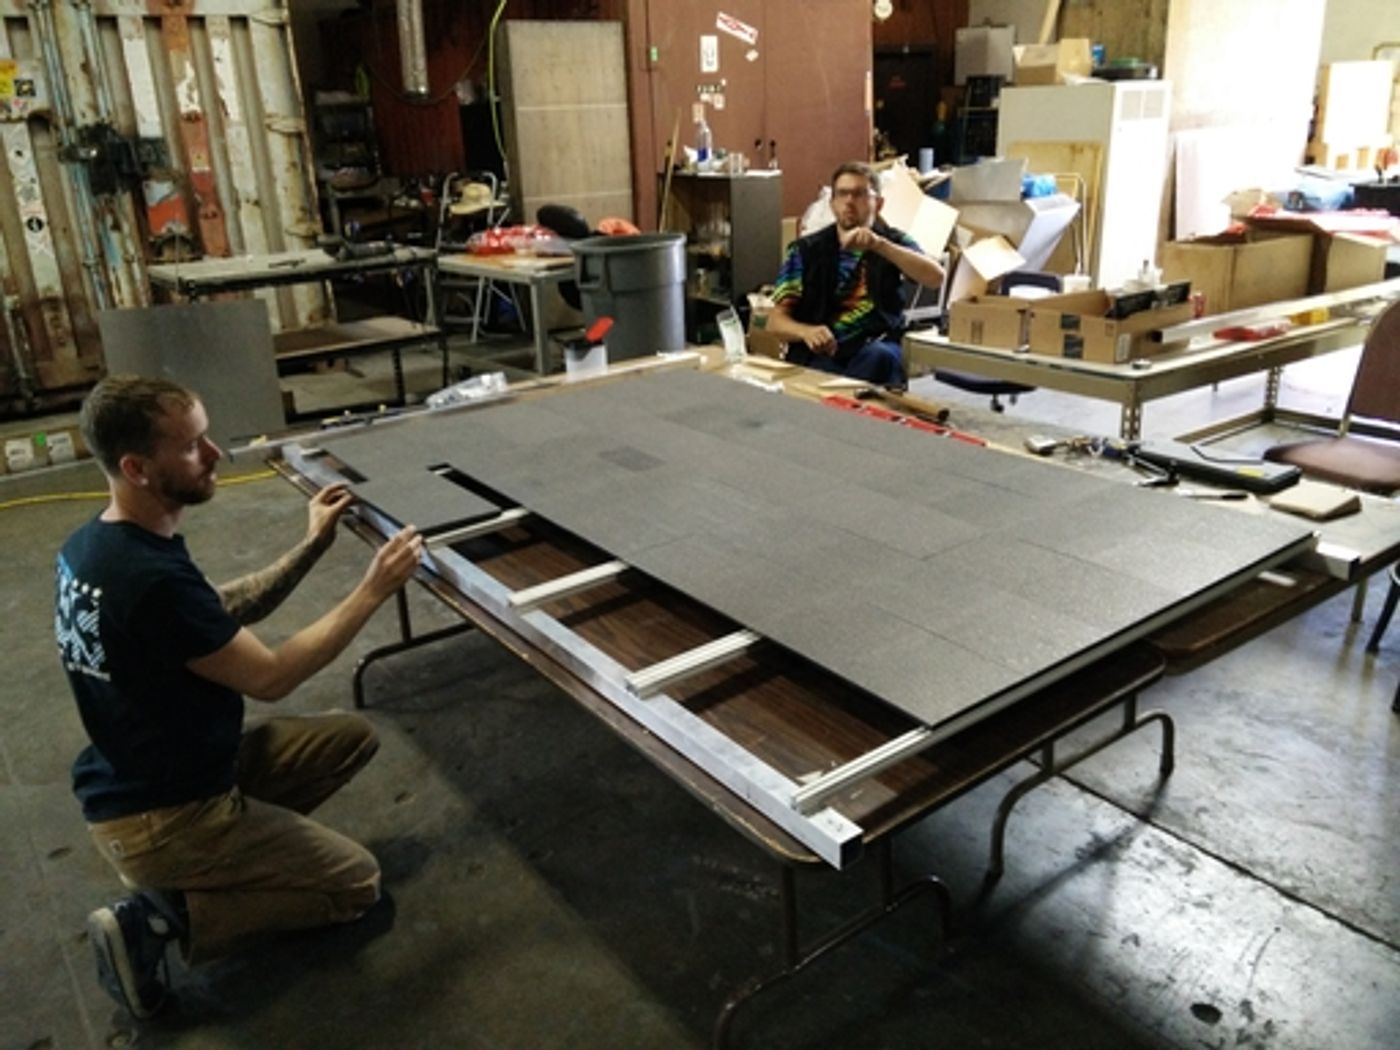
Assembling the Wall
The panels were slid in place. We used M4 screws and washers for this, but ran out of parts halfway through and had to make do with whatever we had on hand.
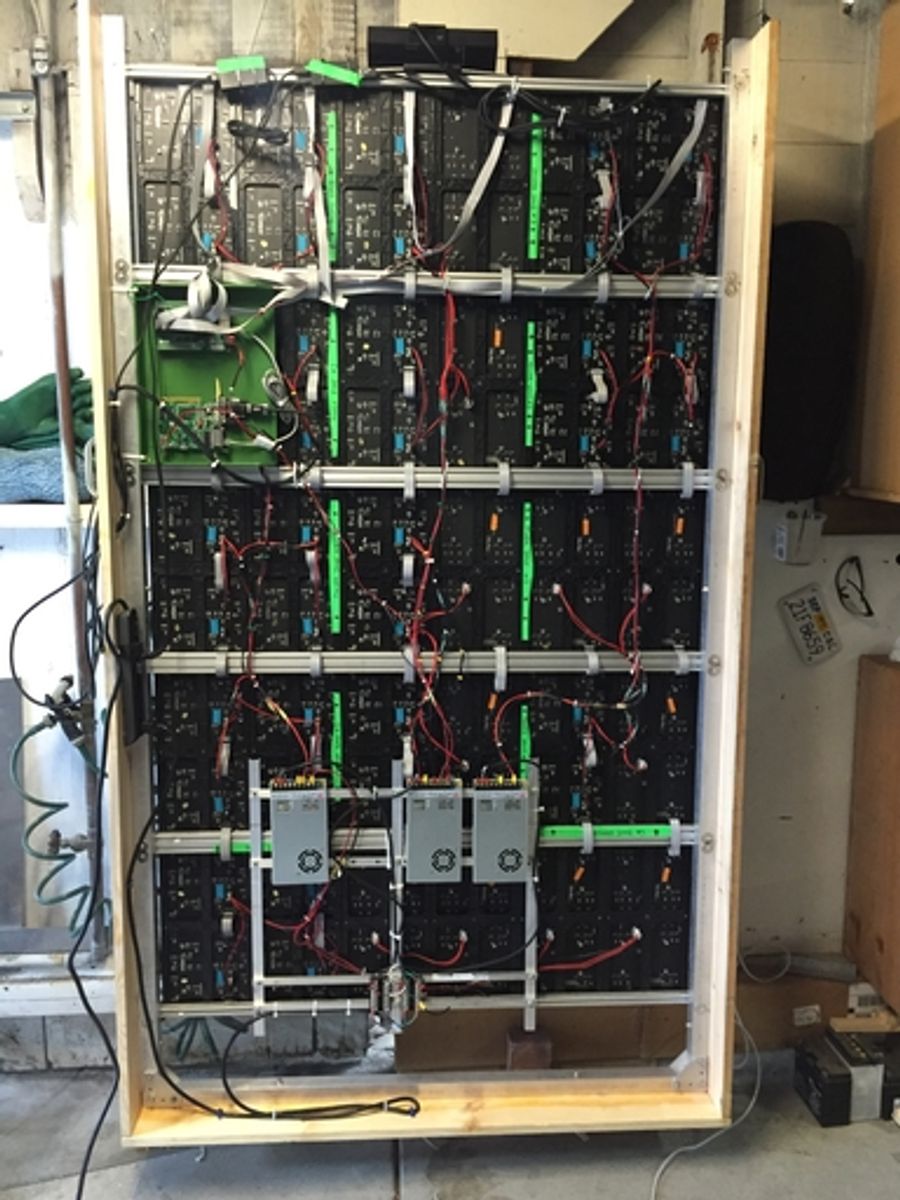
The final wiring, as seen from the back.
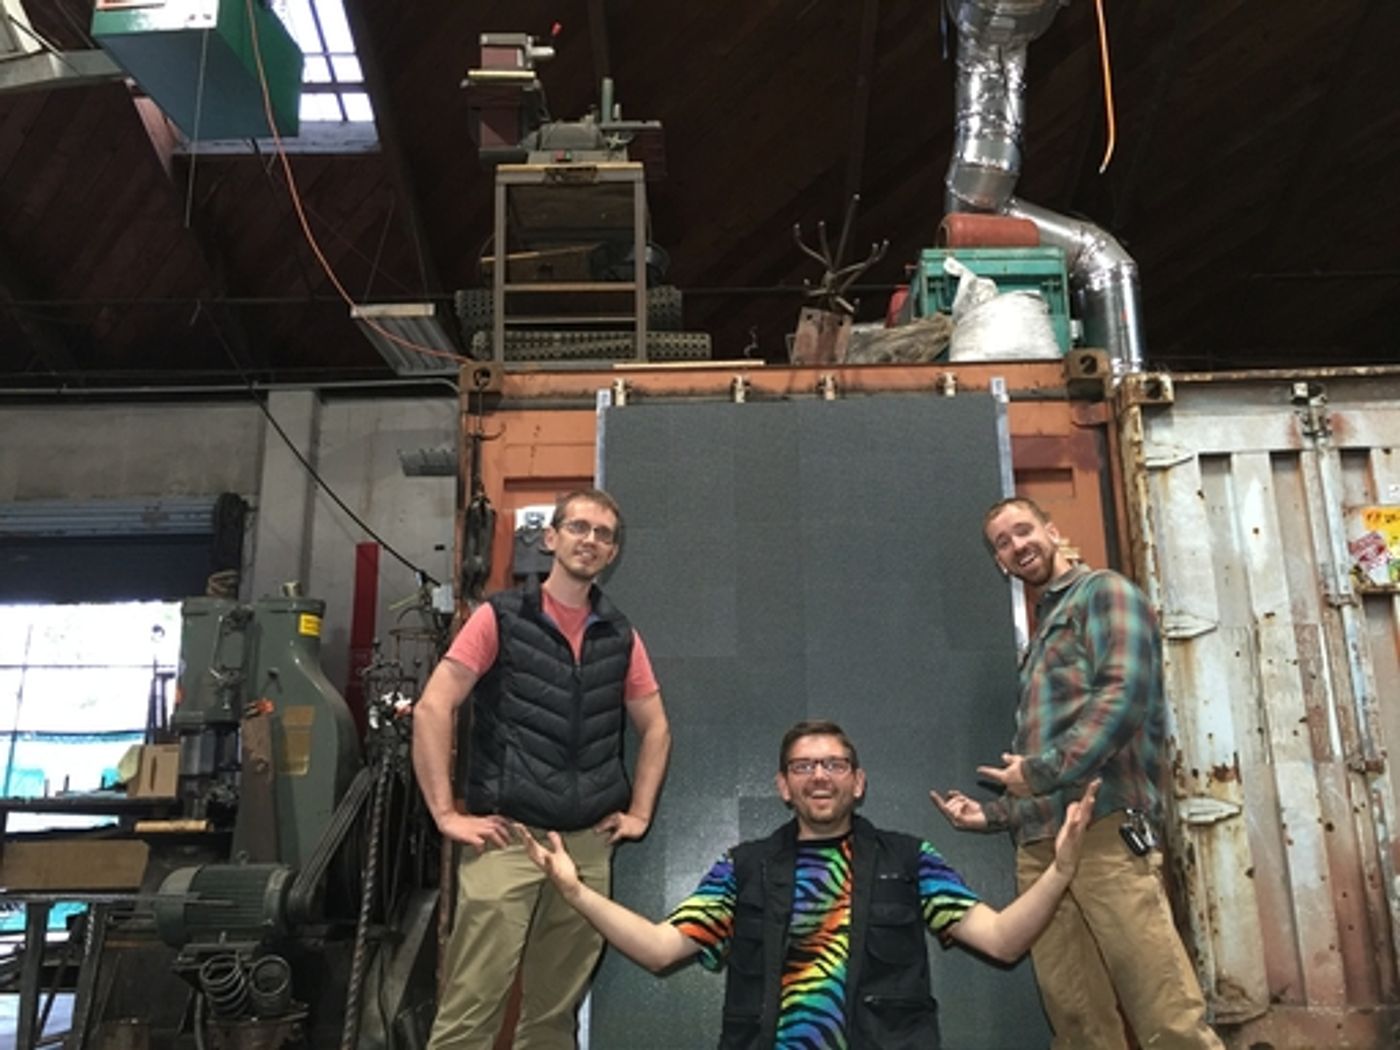
Obligatory congratulatory snapshot.
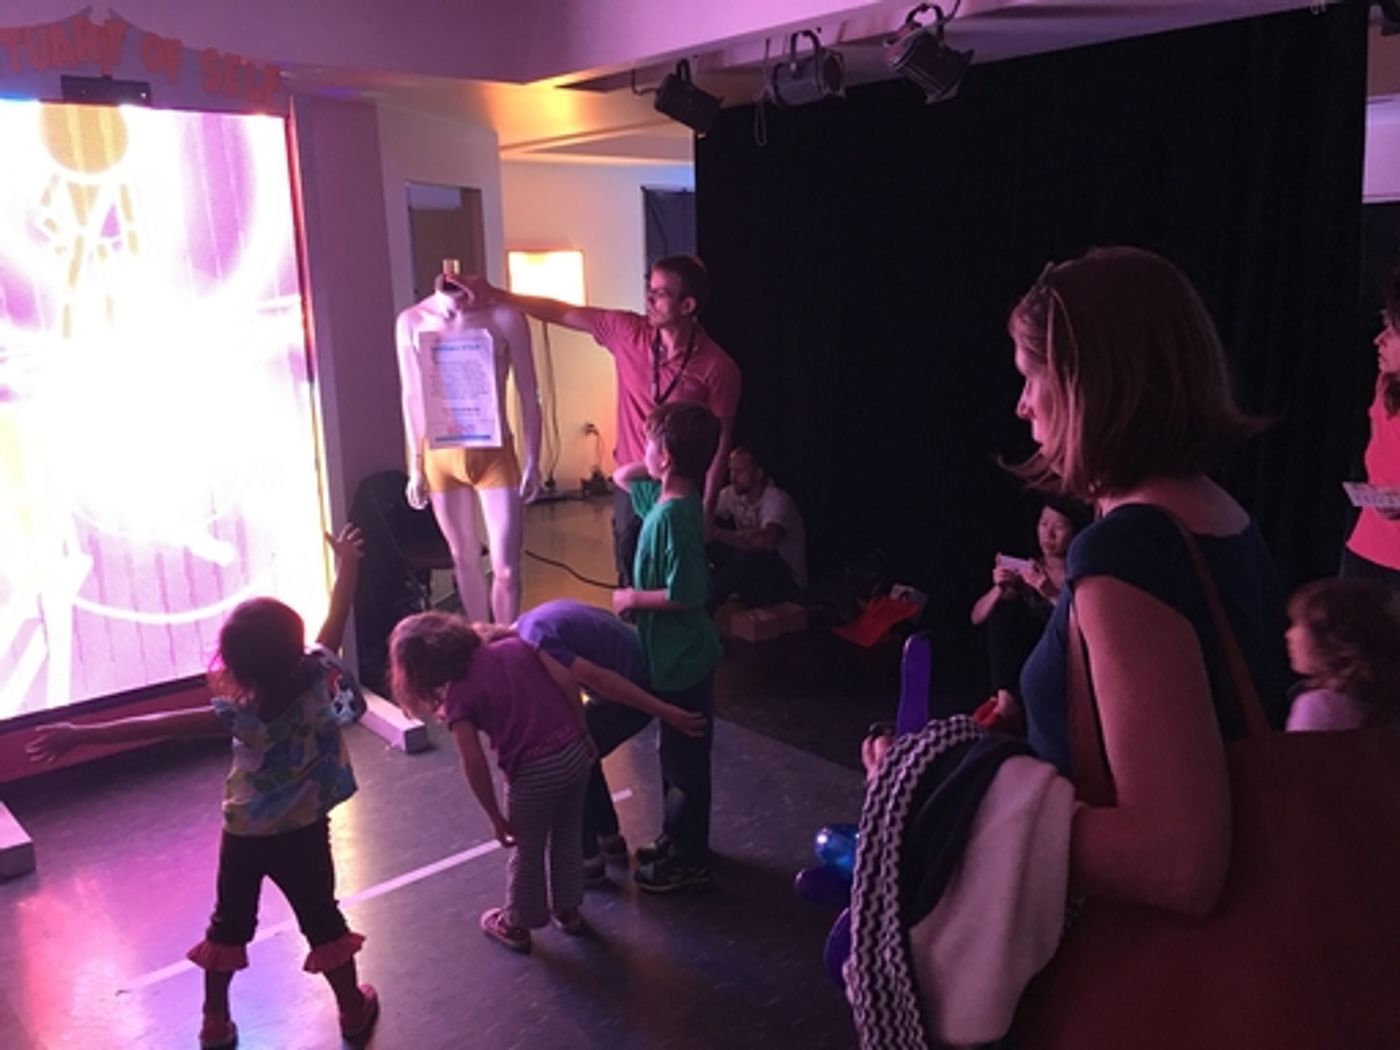
At Mini-Maker Faire
Demoing for kids at Oakland’s mini-Maker Faire.
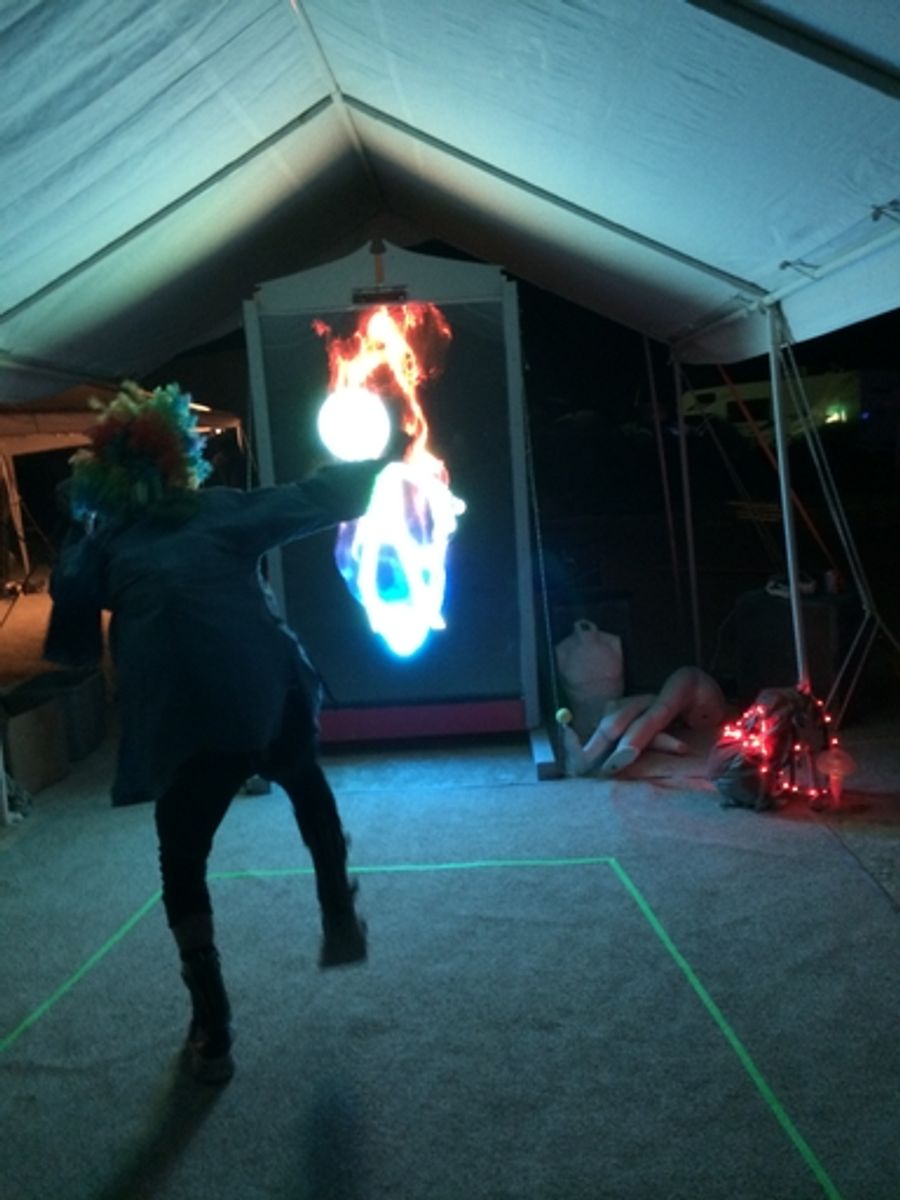
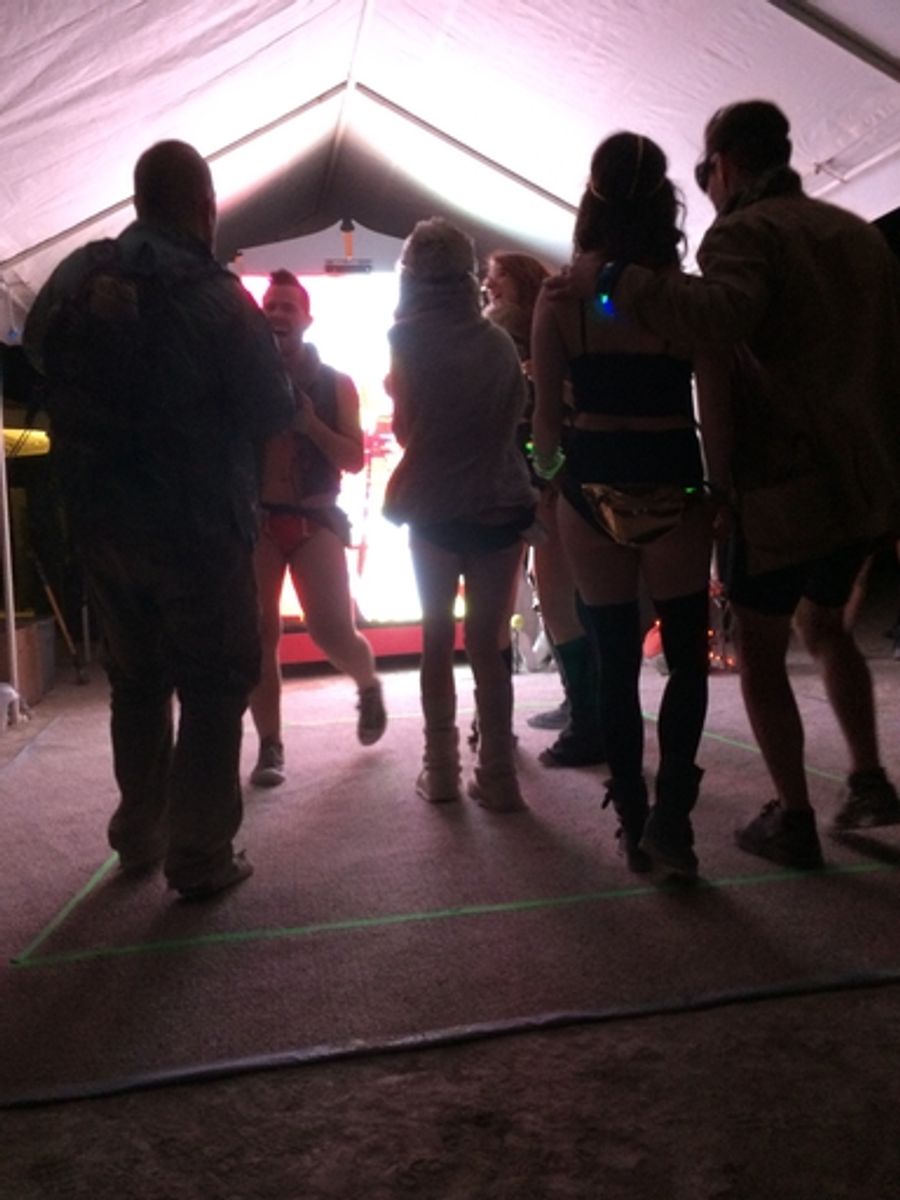
At Burning Man
We left the wall running overnight. Random people would come up and dance.
This mode, with flame, proved to be quite popular.