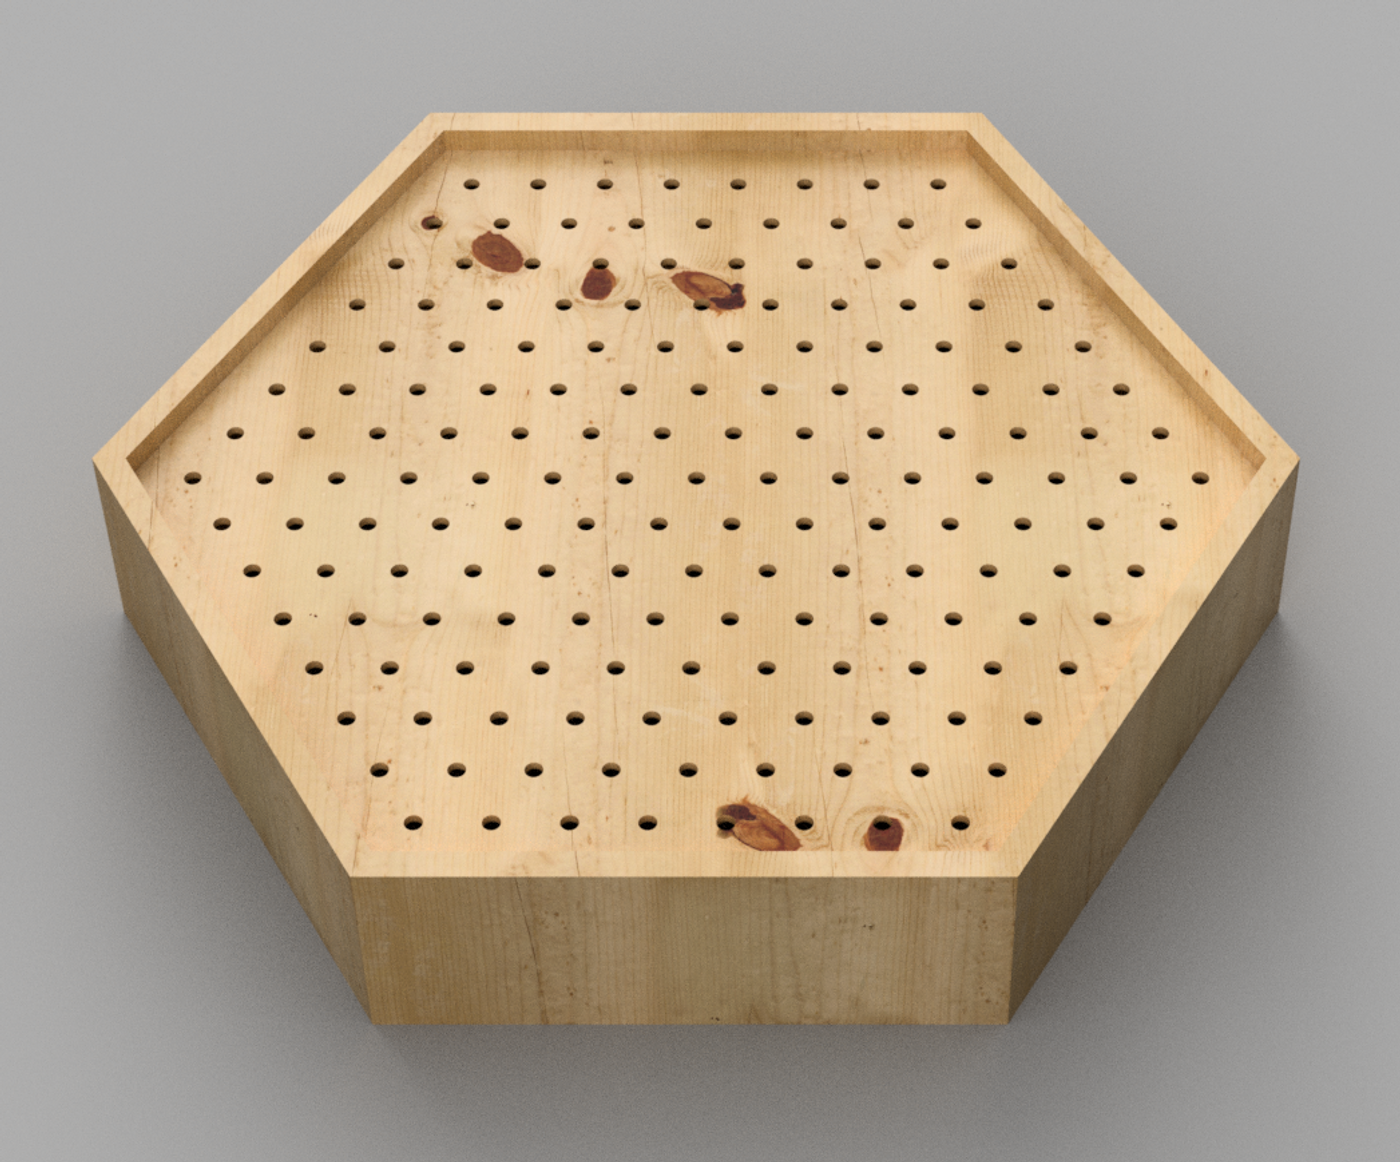
Hex Lights
Project Details
- Wood cabinet shaped like a hexagon. 169 addressable LED lights.
- 12V-5V converter inside
- Single RJ45 connector
- Running light-modules project on a cheap controller like RPi3 or C.H.i.P
Part of a experiment with delivering data and power over CAT5, the module was intentionally wired to have a single input, a RJ45 jack.
Bill of Materials
- WS2811B string lights. Those usually come in 50 LED light lengths, and you’ll need three full lengths and a partial 19-light length.
- They’re designed to fit in 12mm holes. (hence 12mm drill bit needed). Using a 1/2” drill bit will work but its an extremely tight fit. Your thumb will be killing you after trying to push in 169 lights. 12mm is just exactly right.
- 12V-5V 20 amp converter
- Raspberry Pi 3
- 16 gauge wiring
- Pine paneling, 1” x 6” for sides
- MDF or 5mm plywood for front.
- 12mm drill bit, or wood CNC (for creating holes)
Things we learned
- Voltage droop with 5V is significant, especially when you have 169 lights inside, which is a long length of wiring. So 5V feed has to be done at start, midpoint and end.
- If the Cat5 cable is over 10 feet in length, then the voltage drop becomes an issue. This prevents the light module from being placed any reasonable distance from the controller.
- An improvement to the design was done, placing a 12V->5V converter inside for the power/ground wire and leaving data at 5V. This allowed the module to be extended up to 18 feet before droop started to affect the data line.
Improvements Considered
- Convert entire system to 48V (similiar to Power over Ethernet). This makes the design more complex by having to include data converters for the 48V data line to 5V data internally.
- 48V power supplies are more exotic as well than 12V or 24V counterparts.
- 48V -> 5V downsteppers are harder to find.
Overall, components are just harder to find. And this works against keeping the per-unit cost down.